
Last updated October 17, 2026
 Metal roofing
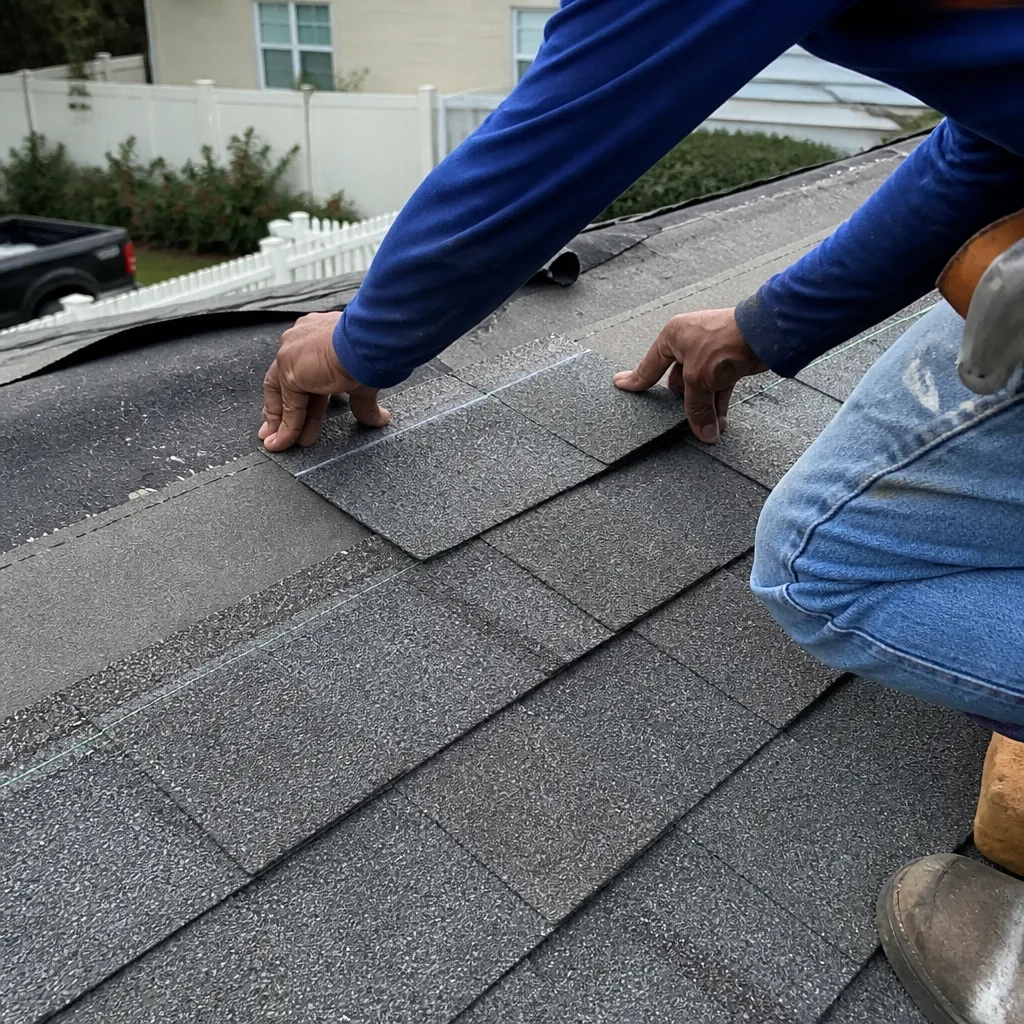
 Architectural shingles
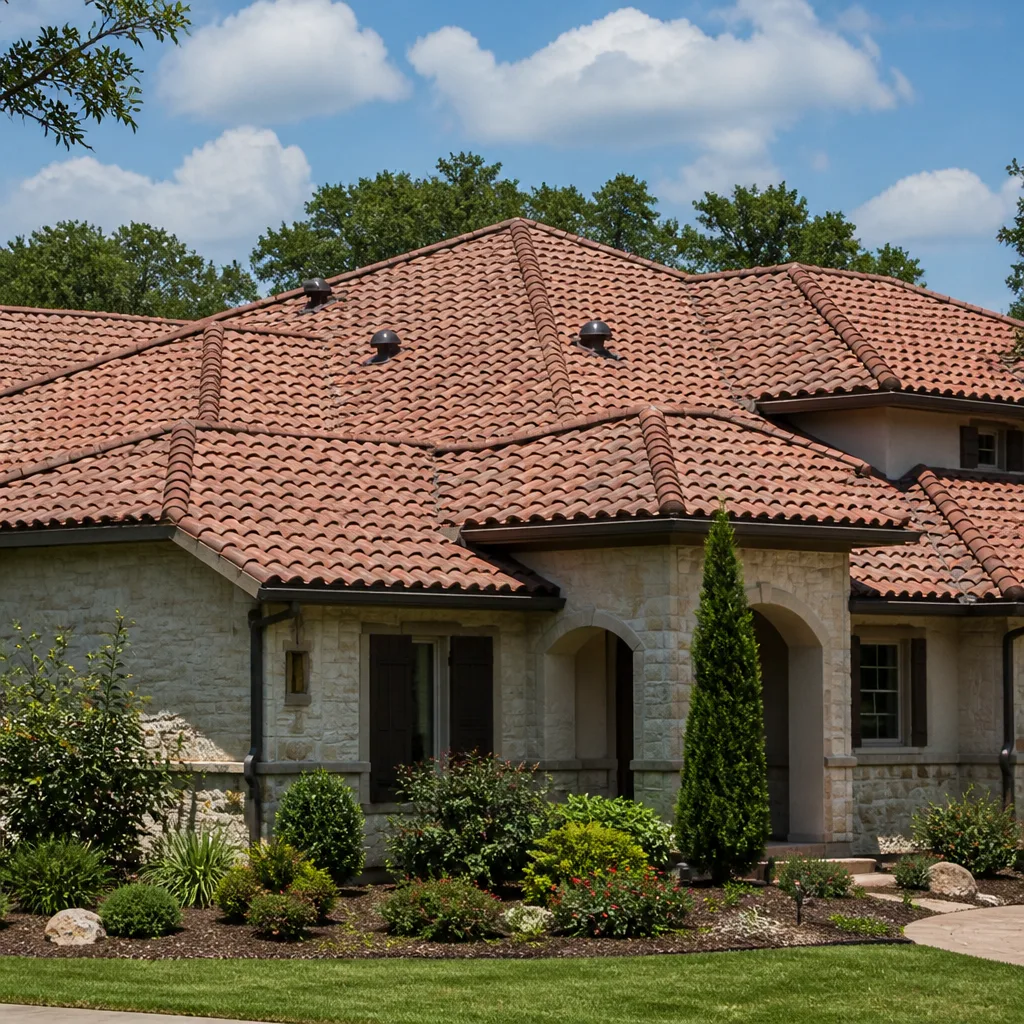 Tile roofing
 GAF
GAF Owens Corning
 Flat & low-slope
Free roof inspection with deck photos before we talk money - GAF and Owens Corning certified installation
Roofing Warning Signs: A Miami Homeowner’s Reference Guide
The warning sign Miami homeowners most consistently miss isn’t a stain on the ceiling. It’s a three-inch section of lifted ridge cap that allows wind-driven rain to travel four feet laterally under the tile field before it ever shows up inside the house. By the time you see the water mark on the drywall, the decking beneath that tile has been quietly rotting for months, sometimes years. This guide is built from what we find when we actually get on roofs across Miami, from Coral Gables to Cutler Bay to Kendall, and pairs well with our Complete Guide to Roofing in Miami. You’ll learn how to read the early signals your roof gives off, the ones that never make it into the generic checklists, and you’ll learn which ones cost real money if you ignore them.
Styles & brands we work with
Quick Answer
Roofing warning signs in Miami fall into two categories: the visible ones you can spot from the ground or inside the attic, and the invisible ones working through humidity, fastener corrosion, and mortar degradation that only reveal themselves through specific patterns. The most reliable early indicators are lifted ridge cap sections, hairline cracks in tile after cold snaps, efflorescence on mortar joints, and staining or daylight penetration visible in the attic before the ceiling shows anything. If you check these four areas twice a year, you’ll catch most failures while they’re still cheap to fix, as detailed in our Seasonal Roofing Care for Miami: Year-Round Homeowner’s Guide.
Table of Contents
- The Attic Inspection Most Miami Homeowners Skip
- Miami Tile Warning Signs: Cracks, Efflorescence, and Hollow Tiles
- Flashing Failure Patterns at Miami’s Three Highest-Risk Penetrations
- How to Distinguish Storm Damage from Normal Wear Before the Adjuster Arrives
- Warning Signs a Previous Repair Was Done Incorrectly
- The Humidity Corrosion Cycle: Miami’s Invisible Roof Killer
- Seasonal Inspection Checklists for Miami Homeowners
- Common Mistakes to Avoid
- When to Call a Professional
- Frequently Asked Questions
- The Bottom Line
The Attic Inspection Most Miami Homeowners Skip
Walk into any attic in Miami on a sunny afternoon and you’ll learn more about your roof in ten minutes than you will staring at it from the driveway for an hour. The attic is where roof failures announce themselves first, long before water reaches your living space. Here’s what to look for, and what each observation means.
Daylight penetration. On a bright day, turn off any attic light and let your eyes adjust for a minute. Look up. If you see pinpoints or slivers of daylight coming through the roof deck, that’s a direct opening for water. In a shingle roof, daylight at a nail hole or seam means the underlayment has been compromised. In a tile roof, daylight between tiles is normal, but daylight through the decking beneath the tiles is not. A single visible gap in the decking means water has already been getting in.
Rafter staining. Dark streaks or water marks on the rafters follow the path water travels. The shape of the stain tells you a lot. A long, thin stain running down a rafter means slow, intermittent water intrusion, the kind that happens with wind-driven rain. A wider, irregular stain near the peak often points to ridge cap failure. Stains clustered around a penetration point, like a plumbing vent or AC line, mean the flashing at that specific spot has failed. Pay attention to whether the stain is active or historic. An old stain will be dry, dark, and uniform. An active leak leaves the wood slightly tacky or shows lighter, newer streaking over the older mark.
Insulation compression patterns. Wet insulation compresses. If you notice areas where the attic insulation looks thinner, flattened, or matted down compared to the surrounding areas, water has been dripping onto it. Insulation that has been wet and dried repeatedly loses its loft and R-value. In Miami’s humidity, compressed insulation also becomes a mold host. If you see compression directly below a seam or penetration, you’ve found the source. If you see it in multiple scattered spots, the problem may be condensation accumulating on the underside of the decking, not a leak at all.
A simple numbered inspection routine you can do in 15 minutes:
- Wait for a bright, sunny day. Rain sounds thundering on a roof where the water is draining properly. The visual check works better with light.
- Turn off attic lights and scan the decking for daylight penetration. Start at the ridge and work downhill.
- Use a flashlight held at a low angle against rafters to catch stains that look invisible head-on.
- Run your hand lightly over insulation in a few spots, especially near the chimney and plumbing penetrations. Feel for dampness or unusual compaction.
- Take photos of anything you find. Reference photos with dates help you track whether a stain is growing.
Do this twice a year, in May and November. May catches the start of the rainy season. November catches damage done by summer storms before the dry winter hides it.
Miami Tile Warning Signs: Cracks, Efflorescence, and Hollow Tiles
Tile roofs dominate Miami neighborhoods from Shenandoah to Palmetto Bay for good reason. Concrete and clay tile hold up against sun and salt air better than nearly anything else. But tile fails in specific, learnable patterns, and most homeowners only find out after a tile slides off and lands in the yard. Here are the three tile warning signs we see most often in Miami.
Hairline cracks after freeze events
Yes, Miami gets freeze events. It happened in January 2010, again in 2018, and briefly in December 2022. When temperatures drop below freezing, any moisture inside porous concrete tile expands as it turns to ice. The result is a hairline crack, often running lengthwise along the tile. One hairline crack isn’t a crisis. But repeated cracks across multiple tiles weaken the whole field. Water enters through the crack, soaks the underlayment below, and over months the decking below begins to soften. After any Miami cold snap, do a visual sweep of the roof surface, focusing on the north-facing slope where tiles stay colder longer.
Efflorescence on mortar joints
Efflorescence is the white, chalky deposit that appears on mortar joints and sometimes on the tiles themselves. It’s a mineral salt residue left behind when water moves through cementitious material and evaporates on the surface. In Miami’s heat and humidity, efflorescence means the mortar holding ridge caps, hip caps, and rake tiles is absorbing water and losing structural integrity from the inside out. The mortar looks intact on the outside. It’s crumbling inside. Tap the mortar gently with a wooden dowel from a ladder if you can safely reach it. Solid mortar gives a sharp sound. Degrading mortar sounds dull, like tapping cardboard. Dislodged or crumbling mortar at the ridge leaves a pathway for wind-driven rain to enter, and in Miami, wind-driven rain is a daily summer occurrence.
Hollow tiles indicating bond coat delamination
When tile roofs are installed in Miami, tiles are set over a bond coat or fastened with mechanical clips depending on the tile profile. When the bond coat delaminates, the tile lifts microscopically from its base. It looks fine from the ground, but when you walk carefully across it or tap it with a rubber mallet, you hear a distinct hollow sound, like knocking on a thin wooden door. This is the sound of a tile that is no longer anchored. In the next strong thunderstorm, a hollow tile is the one that lifts, breaks, or slides. If you hear hollow sounds across several adjacent tiles, the problem is systemic, not isolated. Manufacturers like IKO and Atlas have published installation bulletins on this exact failure mode, and the pattern is consistent: temperature swings in South Florida expand and contract the tile enough that a thin or improperly cured bond coat eventually releases.
If you’re not comfortable climbing onto your roof in Miami, that’s fine. A pair of binoculars from the yard catches most hairline crack patterns and efflorescence spread. The hollow-tile check requires someone walking the roof, which is where a professional inspection earns its keep-something we cover in our DIY vs Professional Roofing: The Miami Homeowner’s Decision Guide.
Flashing Failure Patterns at Miami’s Three Highest-Risk Penetrations
Flashing is the metal that redirects water at every spot where something pokes through your roof. When flashing works, water flows around the penetration and down the slope. When it fails, water follows the penetration straight through the decking. In Miami, three penetration points fail more often than all the others combined, and each fails in a different way.
AC condenser curbs. Most Miami homes have the AC air handler in the attic or a condenser mounted on the roof. The condenser sits on a raised wooden curb, and that curb is flashed with metal that runs up the sides and under the roofing material. The failure here is almost always at the curb corners. Miami’s daily thermal cycling, the metal expands and contracts repeatedly, and the corner seals crack. Once a corner seal cracks, water wicks down the curb and into the attic. The homeowner’s first sign is often a small stain on the ceiling directly below the air handler, which many people misdiagnose as a condensation problem. If the stain is directly below the AC unit penetration, check the curb flashing first, not the unit itself.
Plumbing stacks. Most plumbing vents in Miami roofs are flashed with a rubber boot that fits over the pipe. Florida’s UV intensity destroys rubber faster than in any other state. The boot cracks at the point where it bends over the pipe, usually within 6 to 10 years of installation. Once cracked, rainwater follows the pipe straight down into the wall cavity. The failure has nothing to do with the roof covering itself, which is why a roof that looks perfect from the street can still leak at the plumbing stack. When we do roof repair in Miami, plumbing boot replacement is one of the most common fixes for “mystery” ceiling stains in bathrooms.
Skylight frames. Skylights fail at the joint between the frame and the surrounding flashing. In Miami, the issue is compounded by condensation. Warm, humid attic air meets the cooler glass and frame, and if the attic ventilation is insufficient, condensation runs down the frame and seats into the flashing joint. Over time, that persistent moisture degrades the sealant. The fix often requires removing the skylight, replacing the flashing kit, and re-seating the unit with new sealant, not just adding more caulk around the outside edge.
The pattern to remember: flashing failures are localized. A stain on the ceiling below a specific penetration means that flashing is the prime suspect. A stain that appears in the middle of an open ceiling area points to a field failure, like a broken tile or a lifted shingle. Knowing which is which saves you from paying for a full roof search when the problem is one square foot of metal.
How to Distinguish Storm Damage from Normal Wear Before the Adjuster Arrives
Miami homeowners live with a specific anxiety: a storm rolls through, something looks different on the roof, and now there’s a question. Was that hurricane-force gust or that hail impact an insurable event, or is this just the normal aging every Miami roof endures? The distinction matters because insurance covers storm damage but not deferred maintenance. Here’s how to tell the difference, in terms that hold up when the adjuster visits.
What to photograph. Take photos immediately after the storm, before any repairs or cleanup. Capture wide shots showing the whole roof from multiple angles, then close shots of any damage. Include a reference object for scale, like a quarter next to a hail ding or a pencil beside a crack. Photos with context help. A close-up of a cracked tile means more when paired with a wide shot showing its location relative to the ridge and the edges.
What to measure. For hail damage on vents, gutters, or metal flashing, measure the diameter of the dents. Insurance adjusters look for impact marks consistent with hail size reported in the storm. For lifted shingles, measure how high the edge lifted and note whether the shingle’s adhesive strip released cleanly or whether the shingle cracked. Clean release often points to aging adhesive. Torn shingle material points to wind force.
What to preserve. Do not let anyone, including a contractor, remove damaged materials from the property before the adjuster has documented them. If a tile slides off, store it on the property. If a section of ridge cap lifts, photograph it in place and leave it until the claim proceeds. Removed materials are lost evidence.
The pattern that helps you distinguish storm damage from wear:
- Storm damage is event-specific. It appears suddenly, typically across one side of the roof or in a line. Multiple tiles cracked along a single impact path suggest hail. Shingles lifted on one specific slope suggest directional wind.
- Normal wear is gradual and widespread. Faded granules evenly across the full roof, brittle shingles at many random locations, and tile cracks scattered without a clear impact point all point to age. A roofing professional can document the difference.
- Mold, rot, and long-term staining. If the decking beneath a lifted shingle shows dark staining or the wood is soft, that water has been getting in for months or years. That’s evidence of pre-existing damage, and adjusters check for it.
If you’re uncertain, have a roofing contractor inspect before you file. A reputable roofer in Miami can tell you whether what they’re seeing is consistent with the storm event or with age. That honest read saves you from filing a claim that will be denied and from the premium increase that follows.
Warning Signs a Previous Repair Was Done Incorrectly
Not every roof problem begins with the weather. Some begin with the last guy on your roof. A bad repair can be worse than the original damage, because it hides the failure point and creates new ones. Here’s how to spot a previous repair that wasn’t done right.
Mismatched granule color on shingles. Shingle manufacturers produce specific granule blends for specific product lines. When a repair patch uses a shingle from a different product line, the color doesn’t match perfectly, and the granules have a different size and sheen. If the mismatch is obvious from the ground, the repair was made with whatever was available. That’s not automatically a defect, but it often signals a patch job done without matching the existing material. A proper repair on a shingle roof in Miami involves matching the shingle brand and color as closely as possible, which is why we document the existing product before quoting a repair.
Silicone caulk used as a primary seal. Silicone caulk is a supplement, never the main line of defense. When flashing joints, skylight frames, or tile gaps are slathered with silicone as a primary seal, the repair will fail. Silicone has poor UV resistance in Florida’s sun and loses adhesion on dirty or slightly damp surfaces. It’s the signature of a quick fix. If you see beads of caulk running along flashing joints or around penetration boots, especially caulk that’s already cracking and pulling away, the underlying flashing was never properly addressed. The correct repair replaces the failed flashing or re-beds the tile; caulk only dresses the junction.
Misaligned tile courses indicating improper re-setting. When a tile repair involves removing several tiles to access the underlayment, those tiles must be re-set in their original position and orientation. Misaligned courses, where the profile of one row doesn’t sit flush with its neighbors, create small ledges that catch wind-driven rain and direct water sideways under the tile field. You can spot this from the ground with binoculars. Look at the uniformity of the tile lines. A properly re-set course is indistinguishable from the surrounding field. A misaligned course looks like a slightly crooked smile.
If you spot any of these signs, have the repair evaluated. The 365 days following a repair are enough time for a flawed job to show itself, and in Miami’s rainy season, it usually shows itself sooner.
The Humidity Corrosion Cycle: Miami’s Invisible Roof Killer
Roofing guides talk about wind and rain. Few talk about humidity, which is odd for a city that’s humid nine months a year. Miami’s humidity attacks roofs through a cycle most homeowners never see because it works from the inside out.
The cycle works like this. Warm, humid air rises from the living space into the attic. If the attic isn’t properly ventilated, that air lingers and condenses on the underside of the cooler roof deck, especially at night. In older Miami homes without ridge vents or sufficient soffit intake, condensation forms every night for months. Water drips onto the insulation, which compresses and loses effectiveness, which makes the attic warmer still, which pulls more humid air up. The underside of the decking stays damp. Then the fasteners, the nails or screws holding the deck and the roofing material, begin to corrode.
Fastener corrosion is the failure most guides miss. Roof fasteners in Miami should be hot-dipped galvanized or stainless steel, but older roofs and budget installations used electro-galvanized fasteners that last a fraction as long in humid, salt-adjacent air. When fasteners corrode, they lose holding power. A shingle roof starts to slip. A tile roof starts to lose individual tiles. The roof covering looks fine from above, but from inside the attic, you’ll see dark rust-colored stains around the fastener points on the underside of the decking. That’s the signature.
What to watch for. If you’re in the attic and notice consistent rust staining, condensation on ductwork, or a general feeling of mugginess that mirrors the outside air, the attic ventilation is contributing to roof degradation. The fix isn’t just replacing fasteners. It’s correcting the ventilation so the attic can dry, then repairing the roof. A full roof installation in Miami doesn’t make sense if the attic will keep sweating into the new decking. Any reputable contractor addresses the ventilation in the same scope of work, not as an add-on.
This is also where Boral and CertainTeed roofing systems shine in South Florida. These manufacturers design their underlayment and ventilation products to work as a system, which matters more in Miami’s humidity than anywhere else in the state.
Seasonal Inspection Checklists for Miami Homeowners
Miami’s roof-threatening weather follows a rhythm. Understanding that rhythm helps you time your inspections so problems surface while repairs are still minor. Here are two seasonal checklists, one for the beginning of the rainy season and one for the dry season.
May Checklist: Preparing for Rainy Season
- Clean all gutters and downspouts. A clogged gutter in a Miami afternoon downpour sends water over the flashing and into the soffit.
- Check attic ventilation by noting whether the attic feels significantly hotter than the outside air on a sunny afternoon. If yes, ventilation is inadequate.
- Inspect the ridge cap from the ground with binoculars. Look for lifted, cracked, or missing cap pieces and any mortar that appears crumbly or has visible gaps.
- Look for daylight in the attic after dark with the attic lights on and the decking visible from below.
- Trim branches that hang over the roof. In a tropical storm, those branches become battering rams.
November Checklist: After the Storms, Before the Dry Spell
- Walk the perimeter and photograph the roof from all four sides. Look for tiles shifted by summer wind.
- Inspect all flashing penetrations. Look for cracked caulk, lifted metal, or visible gaps at AC curbs, plumbing stacks, and skylights.
- Check the attic for any new staining that appeared over the rainy season. Compare with photos from your May inspection if you have them.
- Inspect insulation for compression in areas below penetrations.
- Evaluate whether any tiles sound hollow by tapping from a ladder if you can safely access the roof edge. If not, have a professional do it.
Between these two checklists, you’re looking at maybe two hours of effort per year. Compare that to the cost of a leaked roof and a mold remediation in Miami, and the math works out pretty clearly. For more guides & resources, visit our blog.
Common Mistakes to Avoid
- Waiting for a visible ceiling stain. By the time water reaches the drywall, the decking has usually been wet for months. The stain is the endpoint of the failure, not the beginning.
- Caulking over failed flashing. Silicone caulk applied over a failing flashing joint is a temporary bandage that creates a false sense of security. It fails within months in Miami’s UV.
- Ignoring attic condensation as “just humidity.” Condensation on the underside of the decking is a ventilation failure, and it’s actively degrading the roof structure every night.
- Replacing only the visible broken tile. A broken tile is often a symptom of fastener failure or a failing underlayment. Replacing one tile without investigating underneath leaves the next storm to find the next weak point.
- Filing an insurance claim before an inspection. If a roofer tells you the damage is age-related, you’ve avoided a claim that would have been denied. Filing first and learning later costs you in premiums either way.
- Assuming a new roof means no maintenance. New roofs fail too, usually at the flashing joints first. The first year of a roof’s life in Miami is when installation defects show themselves.
- Choosing a roofer based on the lowest price. The cheapest quote in Miami is often the one that skips underlayment replacement, reuses old flashing, or uses electro-galvanized fasteners. The cost difference shows up in three to five years.
When to Call a Professional
Some roofing checks are safe for a careful homeowner. Others aren’t. If you see daylight penetrating the decking in the attic, hear hollow tiles when tapped, or spot efflorescence spreading across ridge mortar, it’s time to get a professional on the roof. Same goes for any sign of fastener corrosion on the underside of the decking. These are not cosmetic issues, and they don’t get better with time. If a storm has passed and you see shifted tiles or lifted shingles, an inspection before you file a claim is the difference between an approved claim and a denied one. Mercer Roofing Co Miami offers free estimates in Miami, call (850) 753-2996 to schedule one. Every visit starts with a written price before any work begins, and our technicians arrive in uniform with a photo ID badge at the door. If you’re a Mercer Roofing Co Miami home owner, you already know we treat your roof like it’s our own.
Frequently Asked Questions
A roof inspection in Miami typically costs between $150 and $400 when purchased independently, but many roofing companies, including Mercer Roofing Co Miami, offer free estimates that include a thorough roof assessment. The inspection covers the roof surface, flashing, attic, and ventilation. Call (850) 753-2996 to schedule a free estimate in Miami.
The decision comes down to the condition of the decking and the scope of the damage. If the decking is intact and the failure is localized, like a flashing joint or a few cracked tiles, repair makes sense. If fastener corrosion is widespread, multiple tiles are hollow, or the underlayment is saturated across large areas, replacement is the honest answer. A roofing company in Miami can document the condition of the decking and give you a written recommendation either way.
The most common roof failure in Miami is flashing deterioration at penetration points, especially plumbing stacks and AC curbs. The rubber boot on a plumbing stack degrades under Florida’s UV within 6 to 10 years, and the metal flashing at AC condensing curbs cracks at the corners from daily thermal cycling. Both failures allow water to enter while the surrounding roof looks intact.
Walking on a tile roof is risky for the homeowner and the roof. Concrete and clay tile crack under concentrated foot pressure, especially if the tile is already compromised by hairline fractures or bond coat delamination. A professional roofer walks tile roofs using specific weight distribution techniques and protective pads. For homeowners, ground-level inspection with binoculars plus an attic examination covers most of the important signals safely.
A well-installed concrete tile roof in Miami lasts 40 to 50 years, while an asphalt shingle roof lasts 15 to 25 years depending on the product line and maintenance. However, the underlayment beneath the tile typically needs replacement at the 20 to 25 year mark. Brands like Atlas, Tamko, and GAF rate their shingle products for Florida’s conditions, but the installation quality and attic ventilation matter more than the product in determining actual lifespan.
Place a bucket under the stain and document it with photos showing the location and size. Then check the attic directly above the stain to trace the water path. If you can identify a clear source, like daylight at a penetration or a wet rafter, you’ve found the failure point. If the water path is unclear, call a professional. A roof leak in Miami doesn’t stop on its own, and the damage compounds with every afternoon storm. Call (850) 753-2996 for a free estimate, and we’ll trace the leak to its source.
The Bottom Line
Miami roofs fail from the inside out, through attic condensation, fastener corrosion, mortar degradation, and flashing joints that deteriorate invisibly until the water finds your ceiling. The homeowners who catch these problems early are the ones who look in the attic twice a year, check tile surfaces after cold snaps, and pay attention to the specific penetration points that fail in Miami’s climate. The ones who wait for a ceiling stain pay for decking replacement, mold remediation, and often a full roof rebuild. Learn the patterns we’ve described here, and you’ll know what to look for before the next rainy season. If you’d rather have a professional take a look, we make it simple: a live person answers 24/7, the price is in writing before work starts, and the technician at your door has a photo ID badge in hand. Call (850) 753-2996 to schedule your free estimate.
Written by Grant Whitlock, Owner at Mercer Roofing Co Miami, serving Miami since 2000.
See the difference
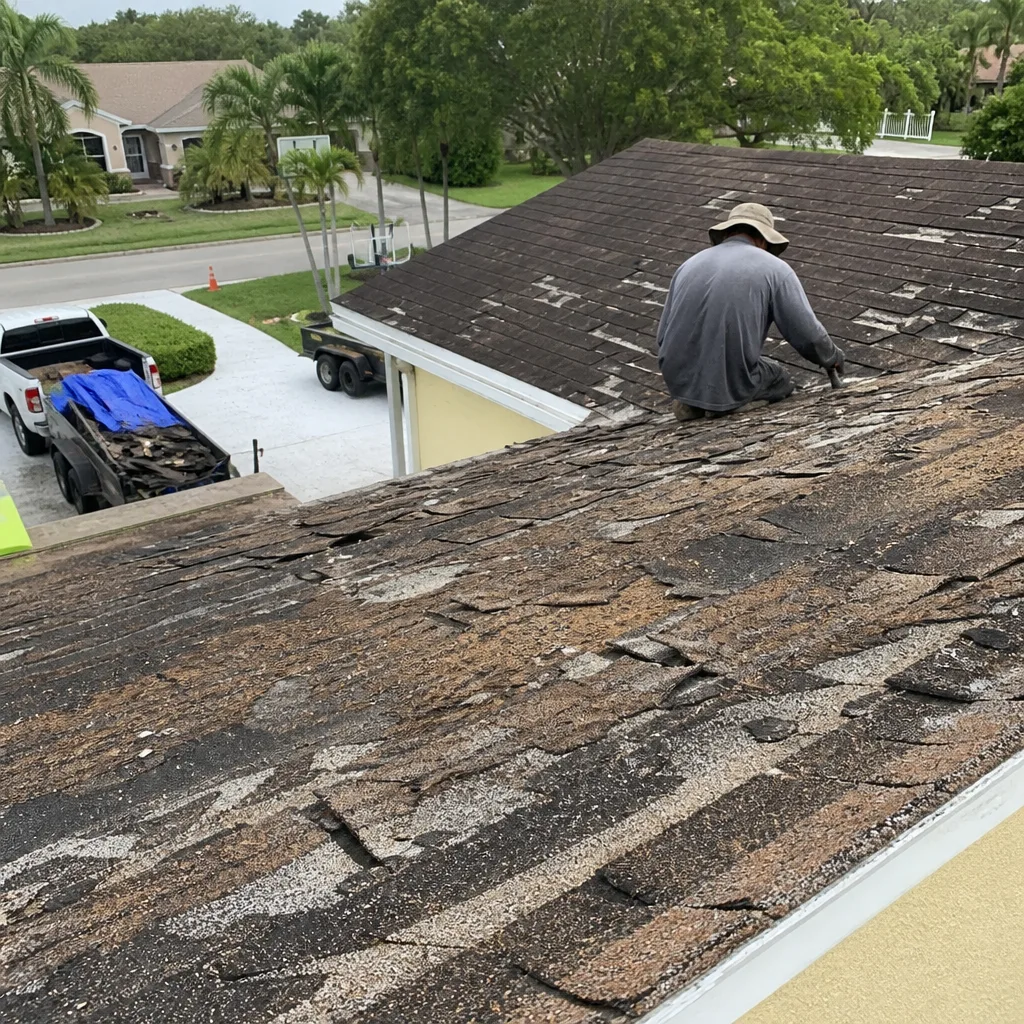 Before
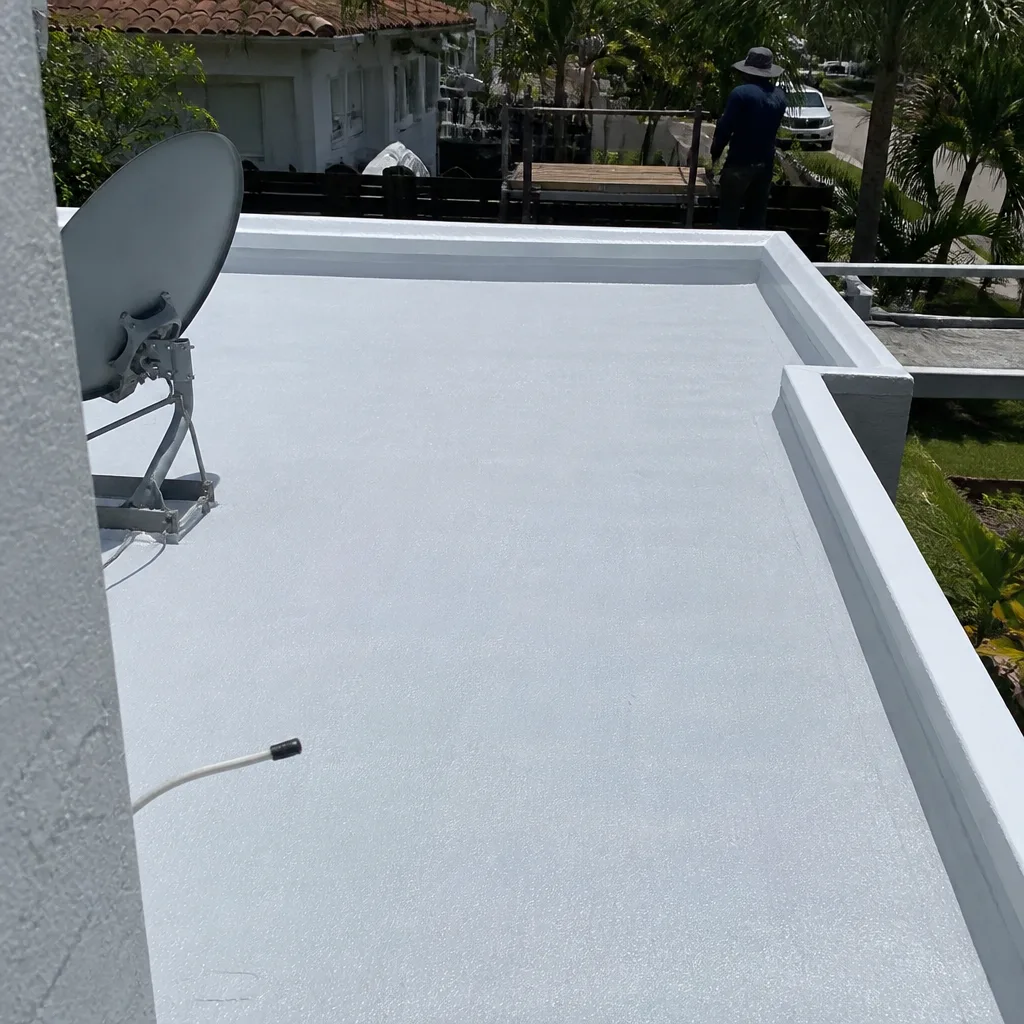 After
After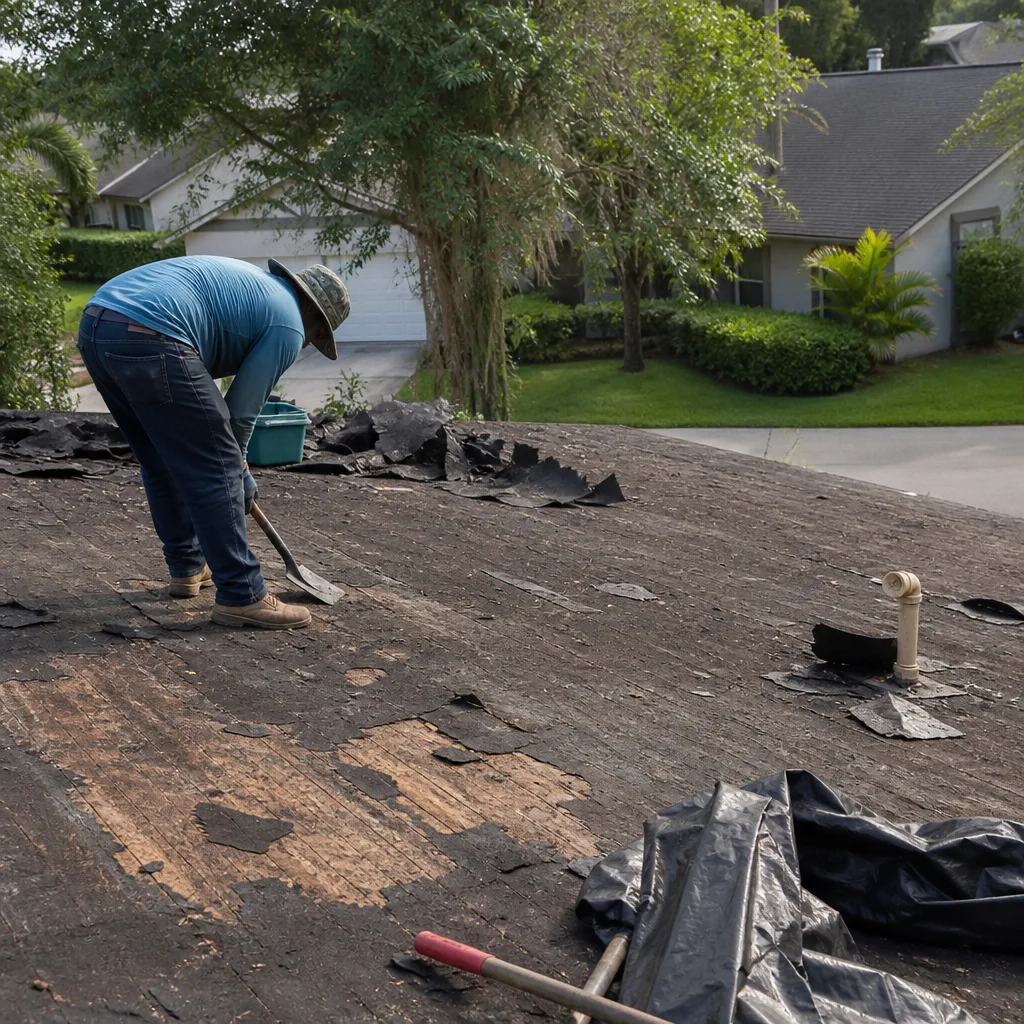 Before
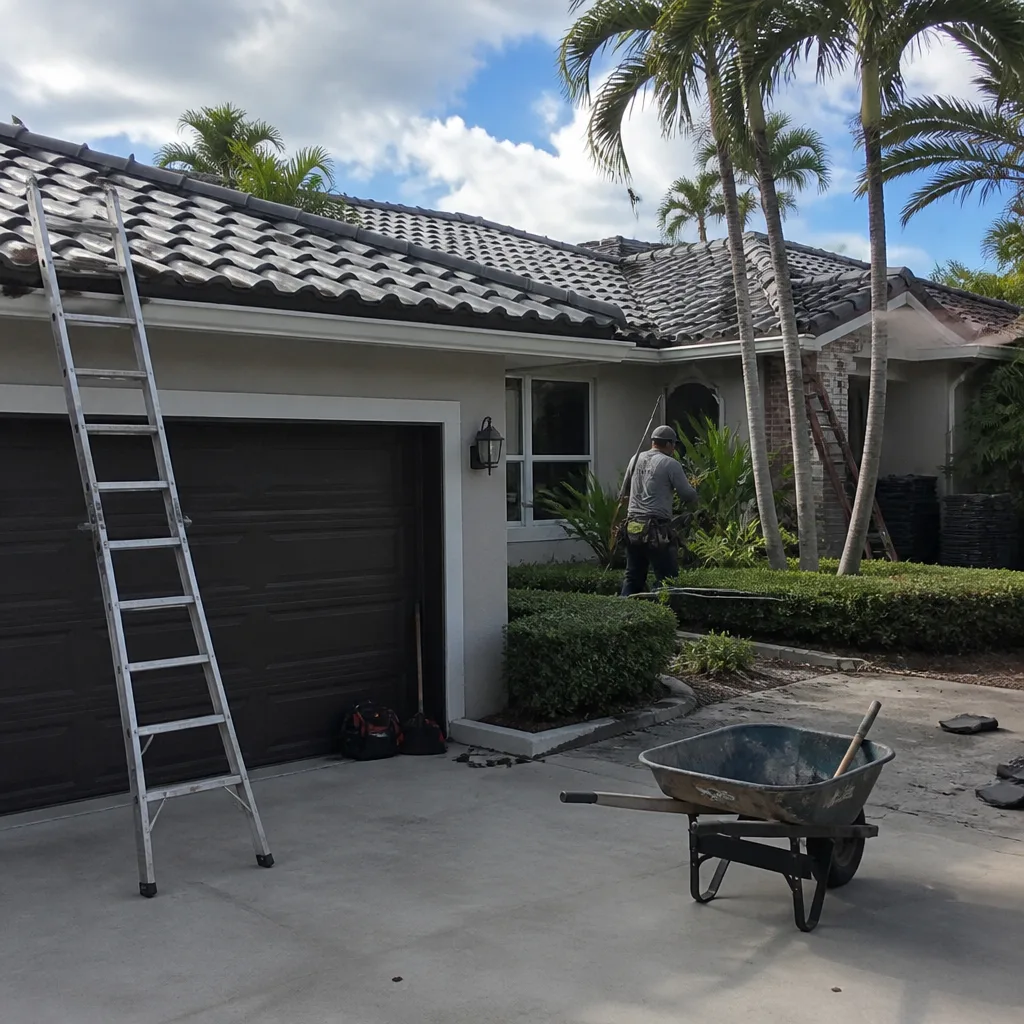 After
After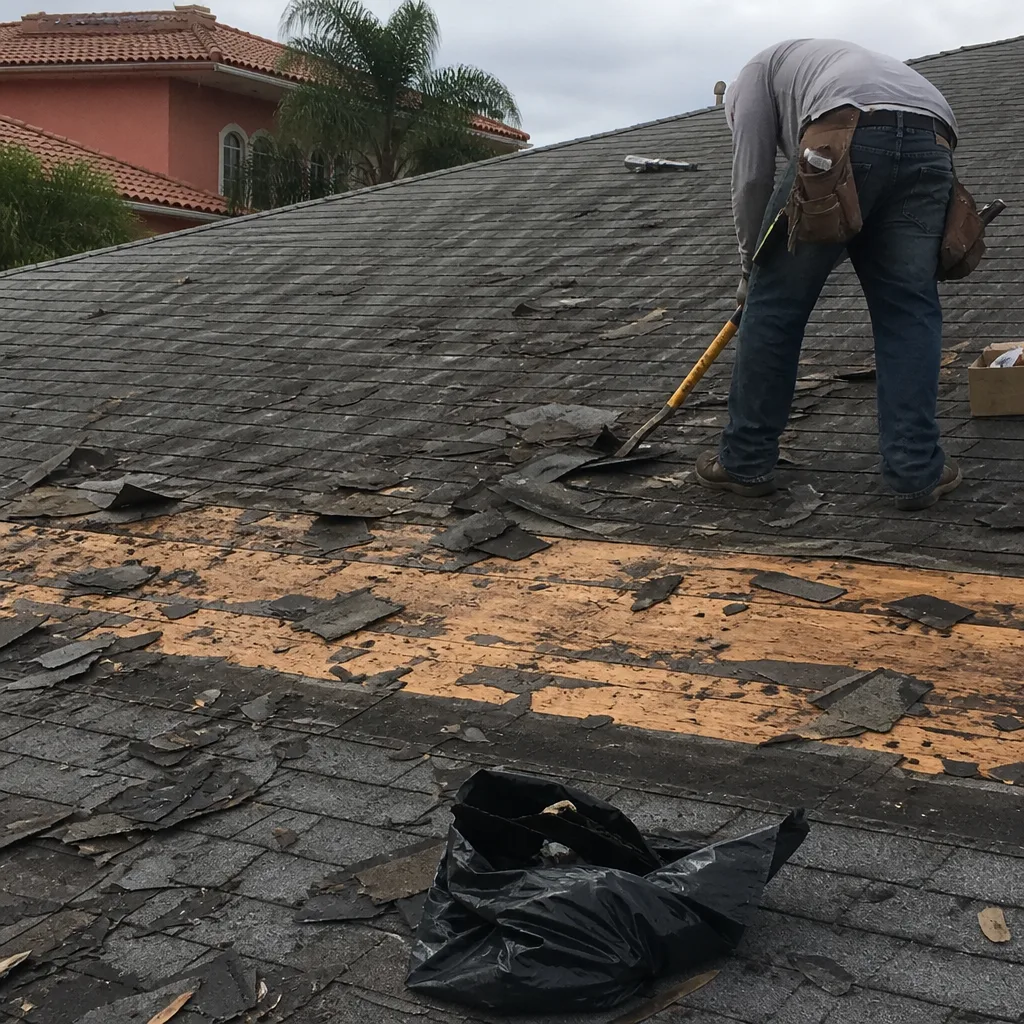 Before
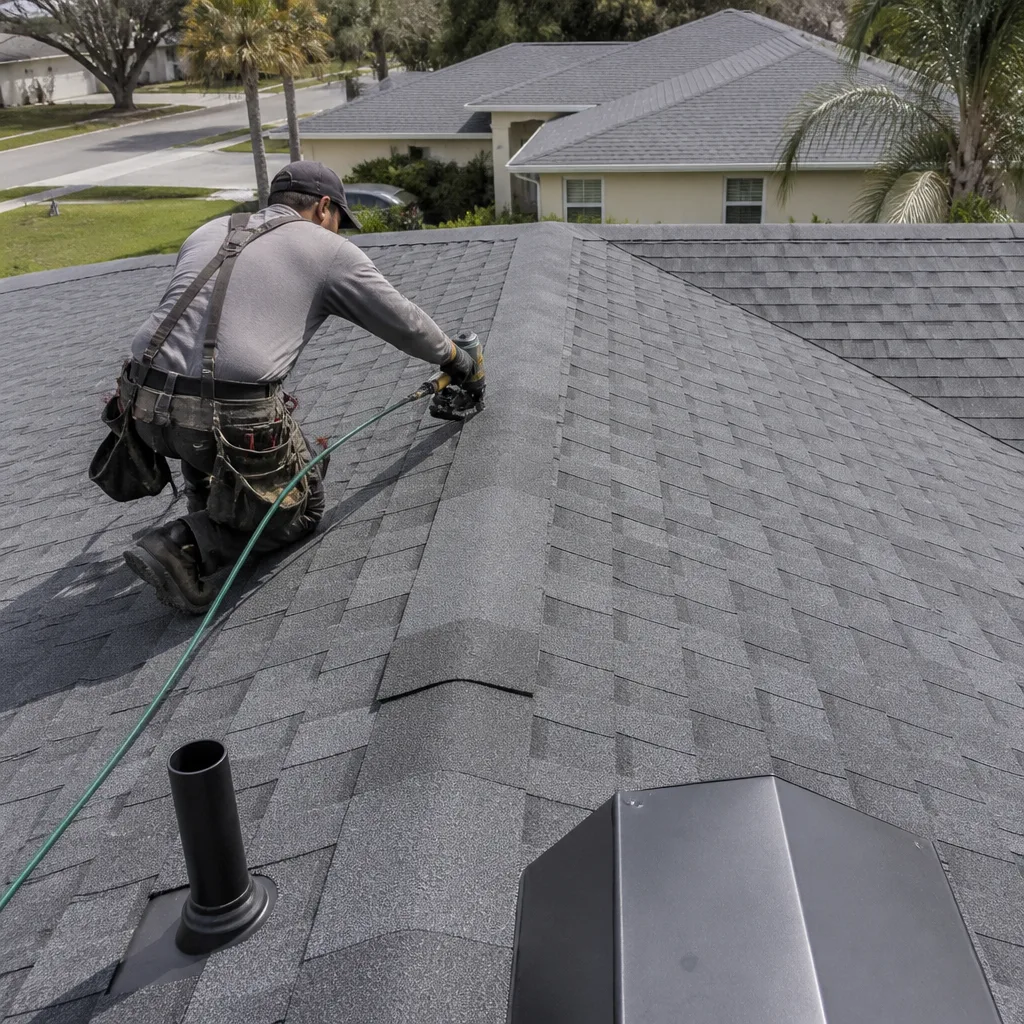 After
After